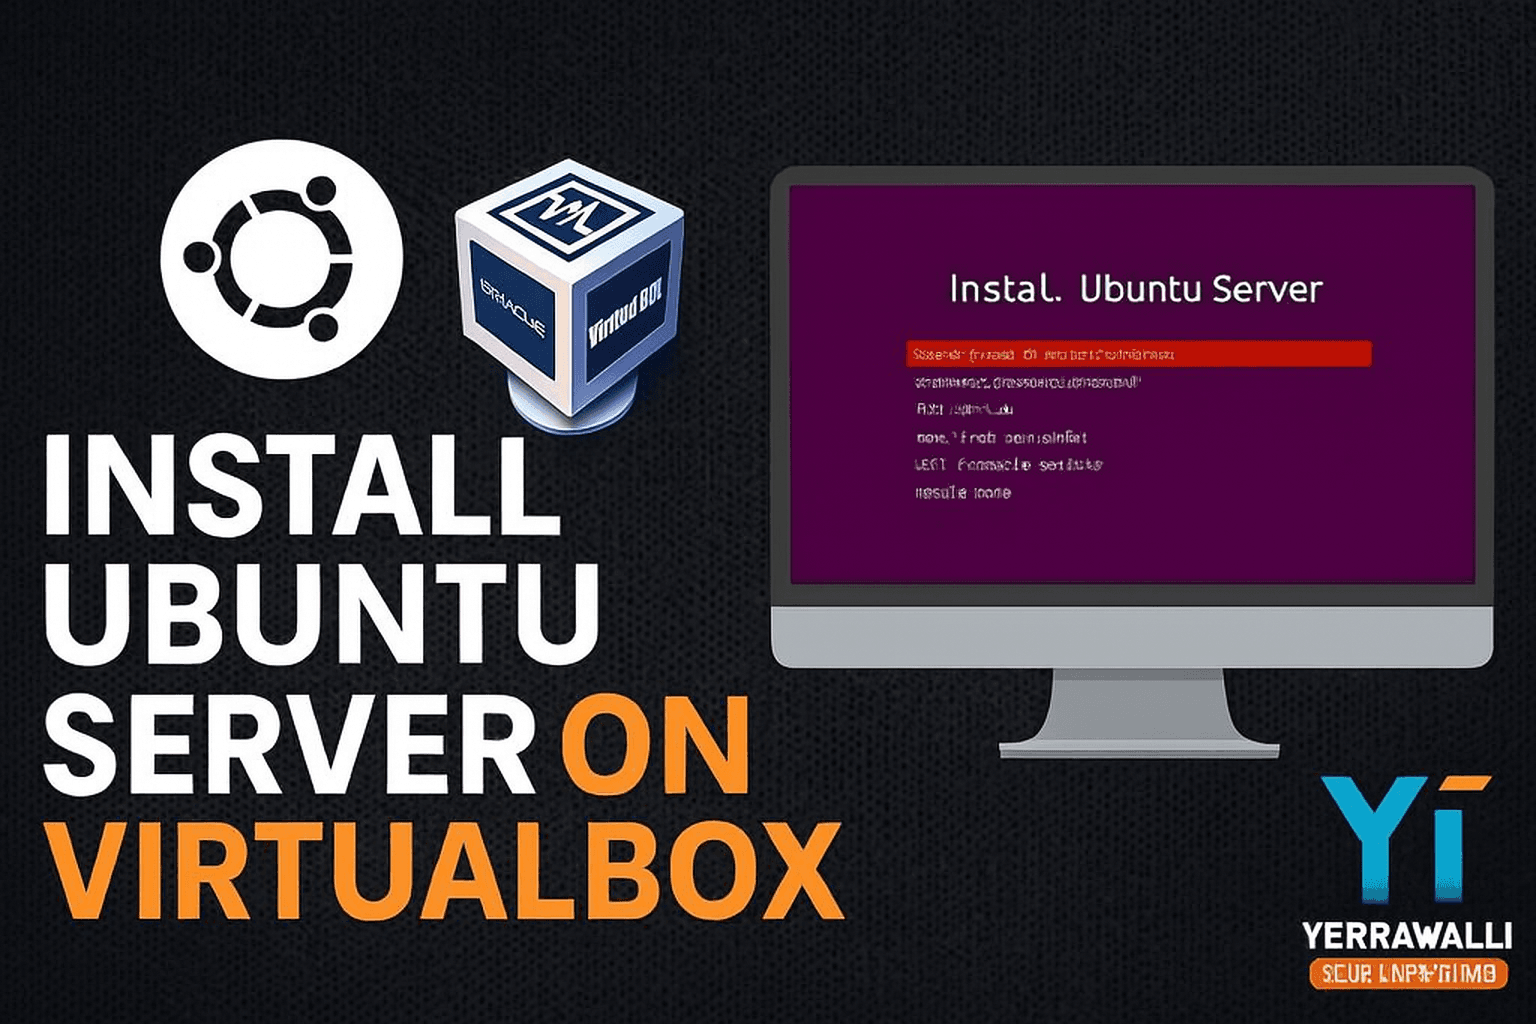
How to Install Ubuntu Server on VirtualBox
Steps to Set Up Ubuntu in VirtualBox
IT professional with 20+ years in infrastructure, security, and cloud. I create bilingual (Telugu-English) tutorials and blogs through Yerravalli IT Simplified, making complex tech clear and practical. Explore my work at
TL;DR
This guide continues from the Ubuntu Server install. You’ll install and enable OpenSSH, pick and configure the right VirtualBox network mode (NAT, NAT Network, Bridged, Host-Only, Internal), optionally create port-forwarding (for NAT), and set a static IP on Ubuntu with Netplan so you can reliably SSH into the VM.
What you’ll need (Prerequisites)
Oracle VirtualBox installed (Windows, macOS, or Linux).
Ubuntu Server ISO (download from official Ubuntu site).
At least 2 GB RAM and 20 GB free disk space on your host system.
Step 1: Download Ubuntu Server ISO
Go to Ubuntu Downloads
Download the latest Ubuntu Server LTS ISO (e.g., 24.04 LTS).
Save it on your host machine.

Step 2: Create a new Virtual Machine in VirtualBox
Open VirtualBox → Click New.
Name:
UbuntuServerType: Linux | Version: Ubuntu (64-bit)

- Allocate Memory: 2048 MB or higher.

- Create a Virtual Hard Disk: 20 GB VDI (dynamically allocated)

Step 3: Attach the Ubuntu ISO
Select the new VM → Settings → Storage.
Under “Controller: IDE”, add the Ubuntu Server ISO as a virtual CD/DVD.
Save and close settings.
Skip unattended installation

Step 4: Configure VM Settings (Optional but recommended)
Processors: Assign 2 CPUs if your host supports it.
Network: Start with NAT (easiest for internet access).
Display: Enable VMSVGA and 16 MB VRAM.
Step 5: Start the VM and begin installation
Start the VM.
Ubuntu installer will boot.
Follow the steps:
Choose Language & Keyboard Layout.
Configure network (auto via DHCP is fine for now).
Set hostname (e.g.,
ubuntu-vm).Create user account & password.
Select disk → Use entire disk → Install.
Wait for installation to finish.

Step 6: First boot and login
Remove the ISO (Settings → Storage → remove ISO).
Reboot VM.
Login with your new username and password.

Verify internet:
ping google.com -c 3
Step 7: Install updates
sudo apt update && sudo apt upgrade -y
This ensures your server is secure and up to date.
Troubleshooting Tips
No 64-bit option in VirtualBox: Enable virtualization (VT-x/AMD-V) in BIOS.
Installer stuck on network: Switch VM adapter to NAT or Bridged.
No boot after install: Ensure hard disk is set as the first boot device.
✅ Wrapping Up
In this tutorial, we set up the Ubuntu Server installation on VirtualBox. With this setup, you can now experiment with different OS versions and modes, just like in real-world environments.
🔗 What’s Next?
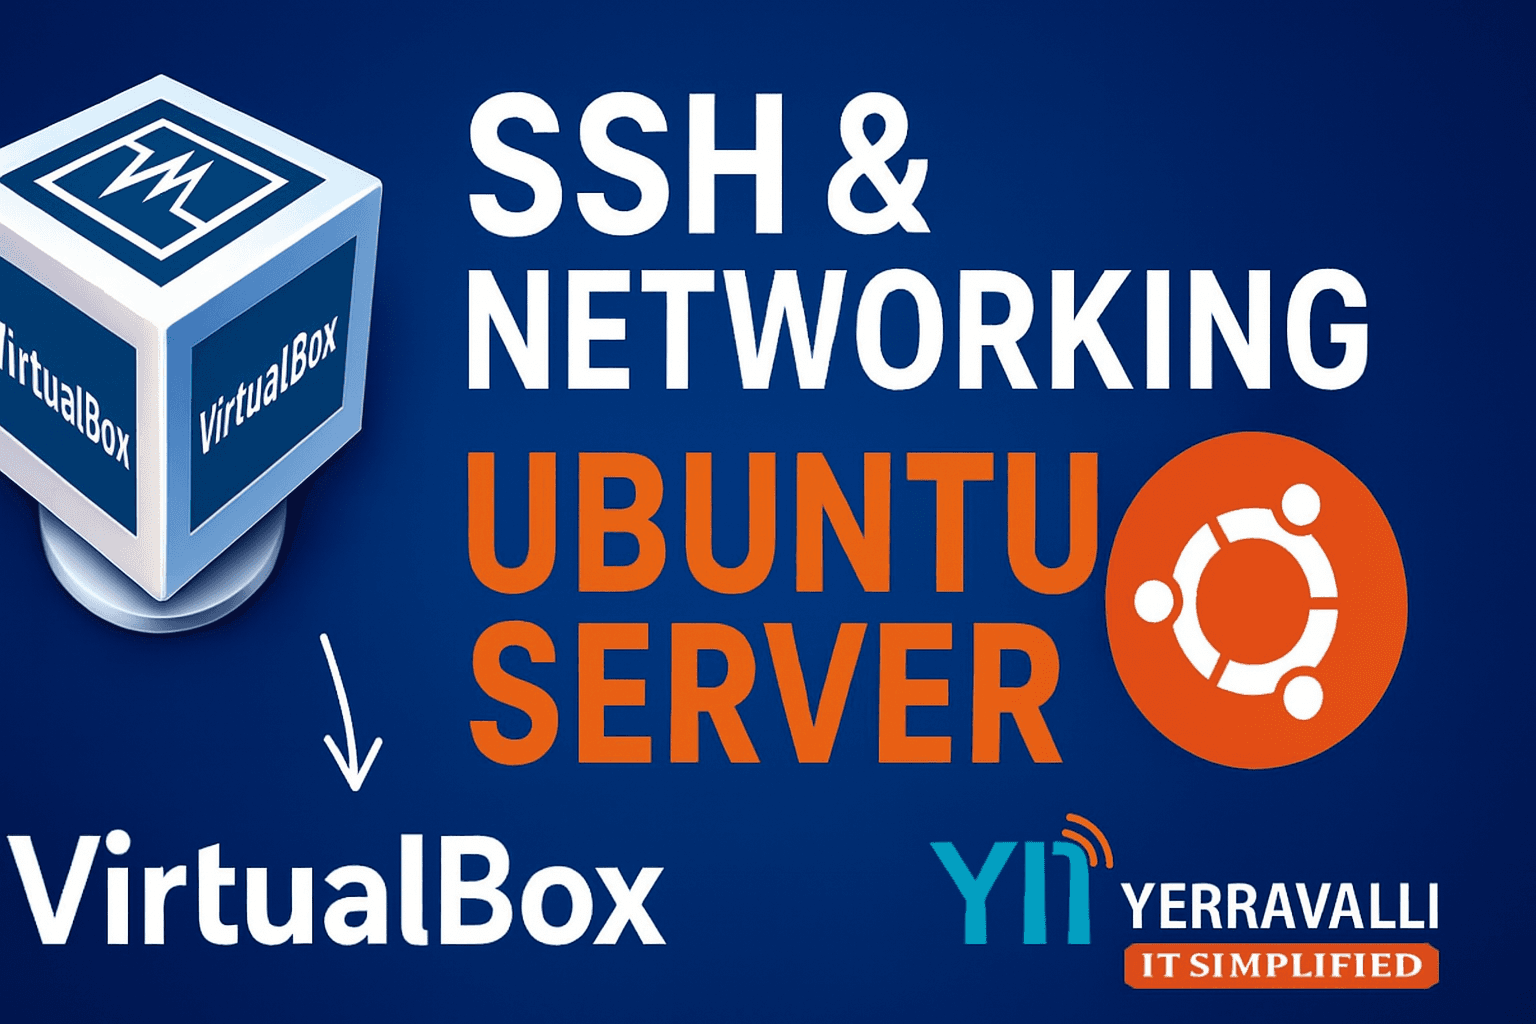
Now that your VM can be accessed via SSH, the next step is to explore Ubuntu Server management and security hardening.
👉 Continue to the next tutorial:
How to Configure SSH and Networking in Ubuntu Server on VirtualBox
🔔 Call-to-Action
💬 Share your questions in the comments.
👍 If you found this useful, follow me here on Blog.
🎥 Don’t forget to watch the full tutorial on my YouTube channel:
How to Install Ubuntu Server on VirtualBox
👨💻 About the Author
I’m Rajesh Kumar, the creator of Yerravalli IT Simplified.
With over 20 years of experience in IT—covering Linux, Windows, Networking, Servers, Cloud, and Cybersecurity—I’m passionate about breaking down complex technical topics into simple, hands-on tutorials.
📺 Watch tutorials on YouTube: Yerravalli IT Simplified
📚 Ubuntu Server on VirtualBox Series
1️⃣ How to Install Ubuntu Server on VirtualBox
2️⃣ How to Configure SSH and Networking in Ubuntu Server on VirtualBox
3️⃣ SSH Brute Force: Ubuntu Server Management and Security Hardening
Stay tuned — new parts will be added here as the series continues! 🚀